How To Start Home Brewing
I've been home brewing now for about five years, but I often get asked how to start home brewing. There are several different ways that you can start ranging from buying a kit online to just buying ingredients and having a go. You don't need a lot of kit to get started, but as you progress, you will find that you will add to your home brewing kit. Today I'm going to tell you how I started home brewing, what minimal amount of equipment you need to be able to start home brewing, what type of ingredients you can use, and the basic process of brewing.
How To Start Home Brewing – how I started
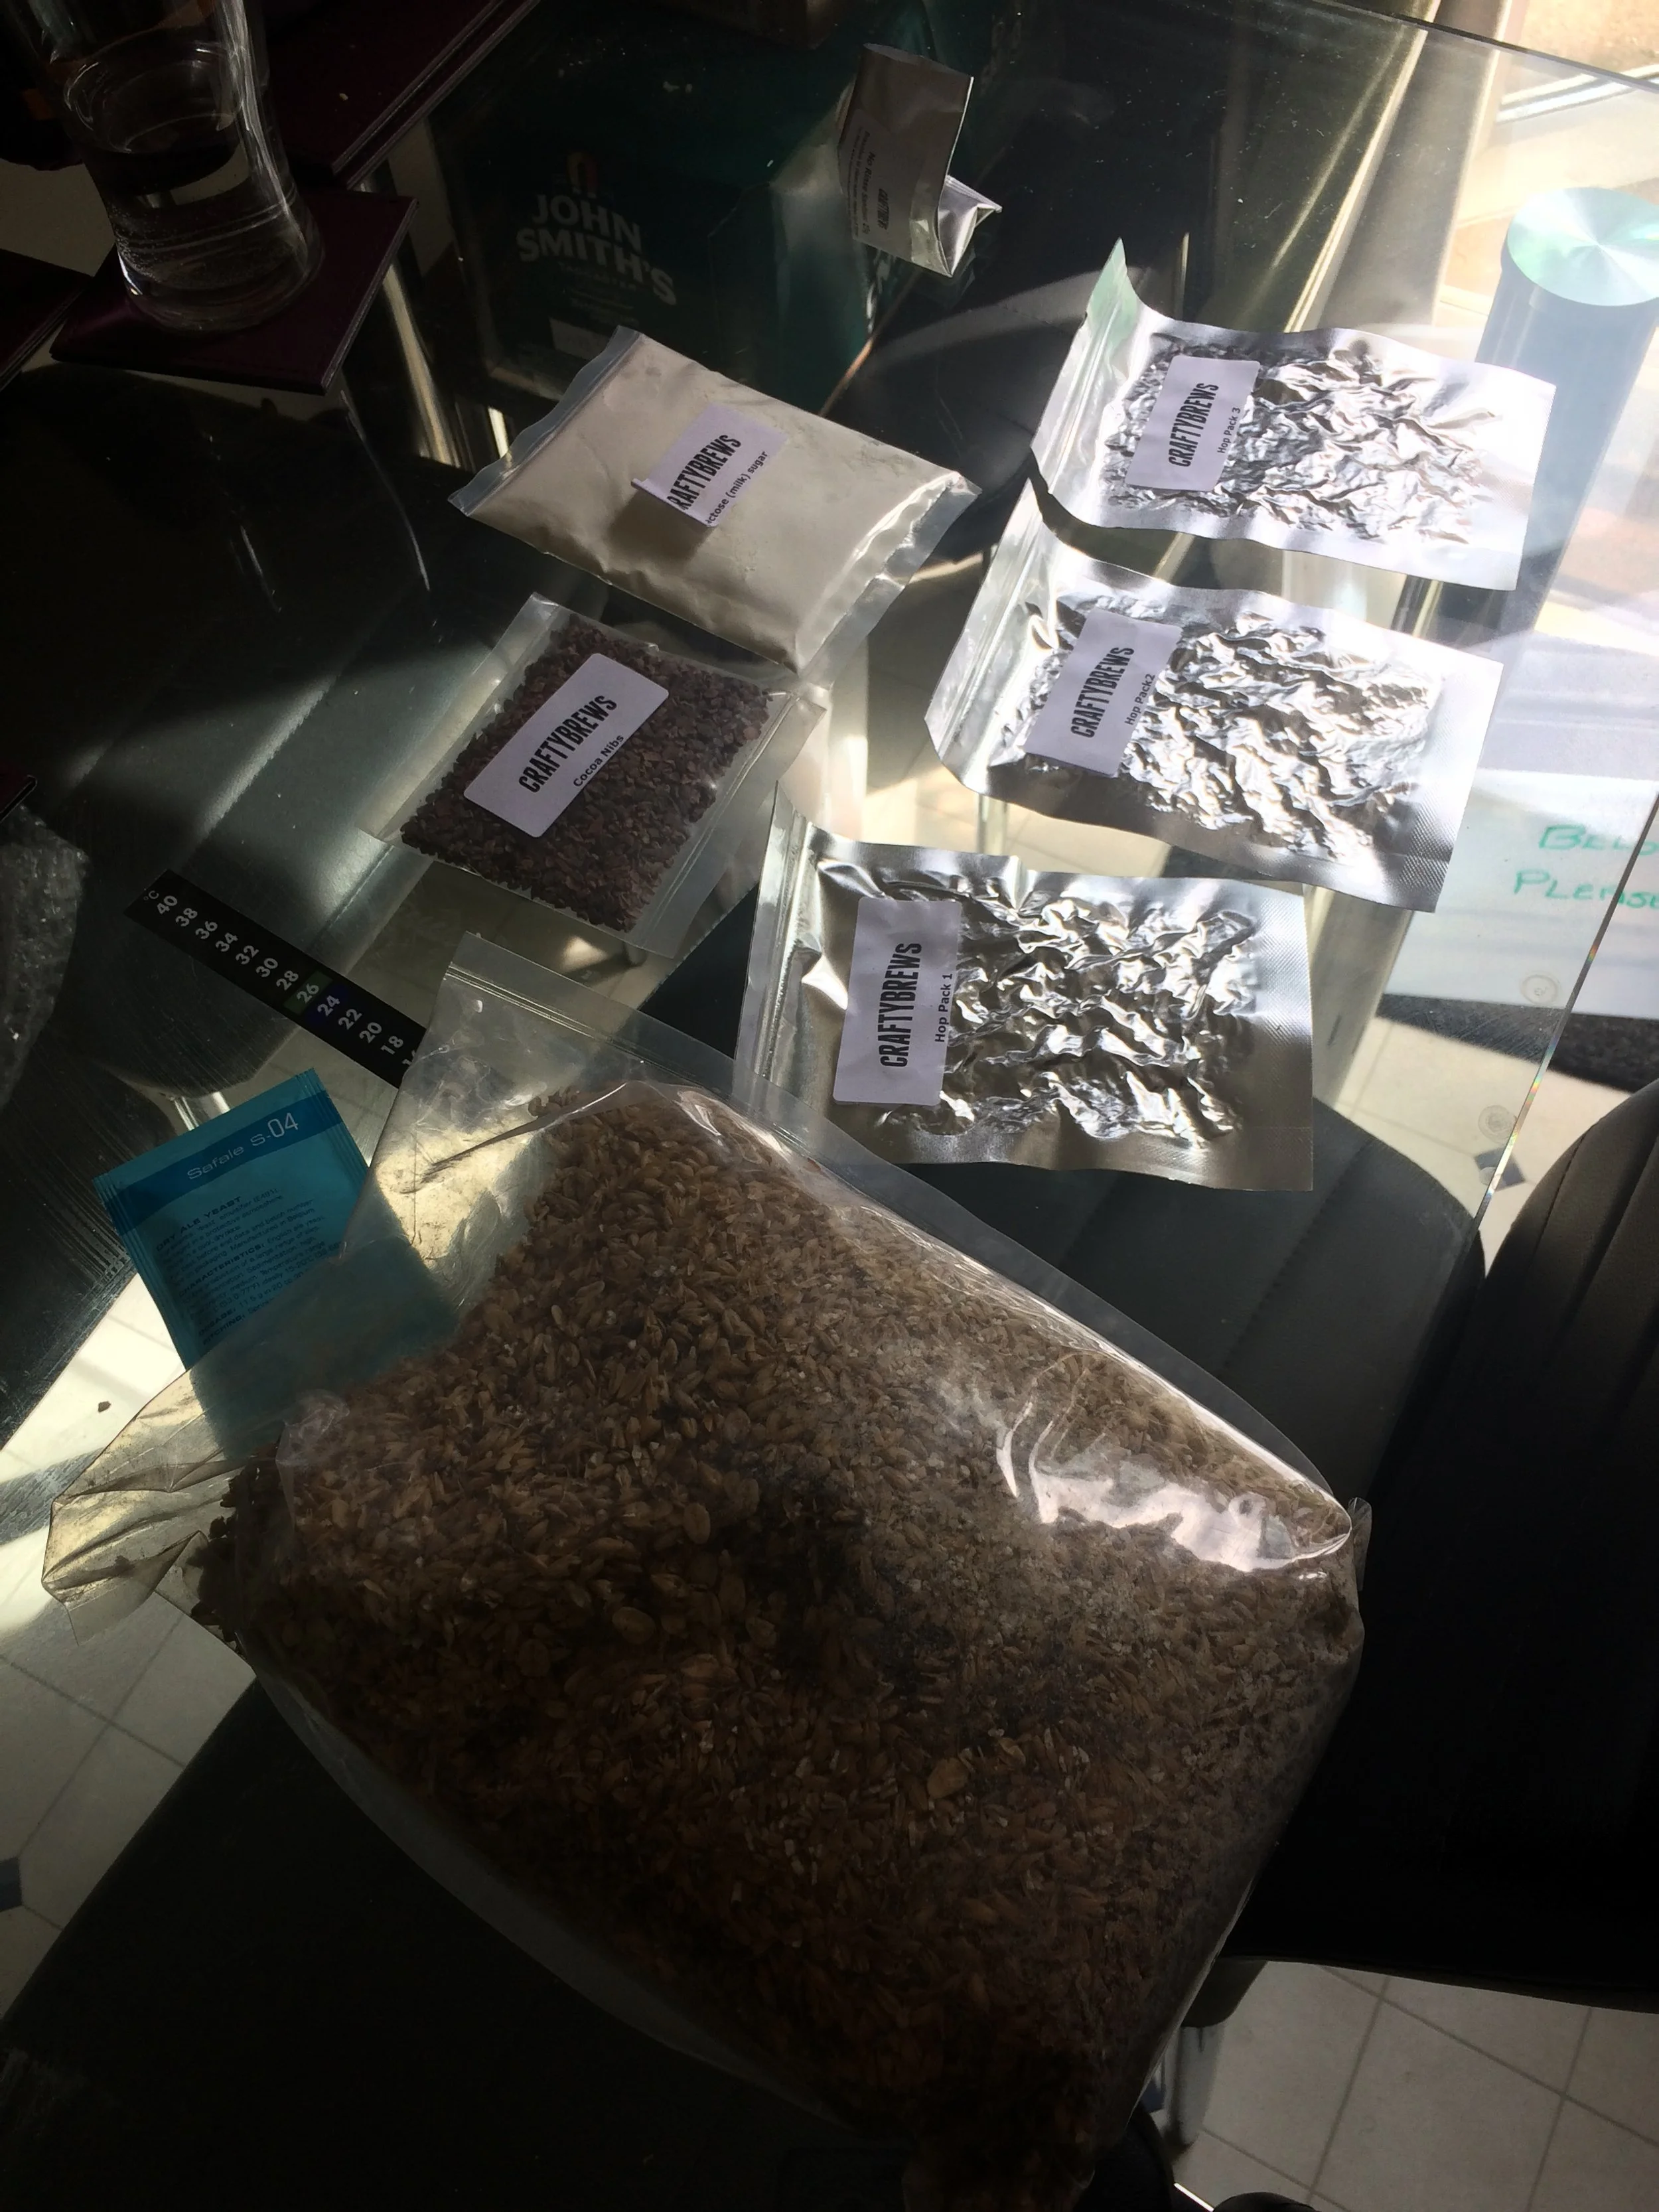
An all grain home brew kit
It can be quite easy to start home brewing. When I began home brewing, I was living in a one bedroom flat so I needed a very small kit to be able to fit in there. I was also on the top floor so I couldn't do anything outside, it had to be inside my flat in the kitchen. I looked for small batch brewing kits and I found one that was called Stove Toppers that was from Brew UK. This kit came with the minimal equipment that you needed, but it also came with all grain ingredients. We'll talk about the difference between the ingredients you can get in kits later on. By starting with a kit you have all of the ingredients you need. You don't need to weigh anything out and you can just follow the instructions that come with the kit. So it is an easy way to start home brewing.
How To Start Home Brewing - Equipment
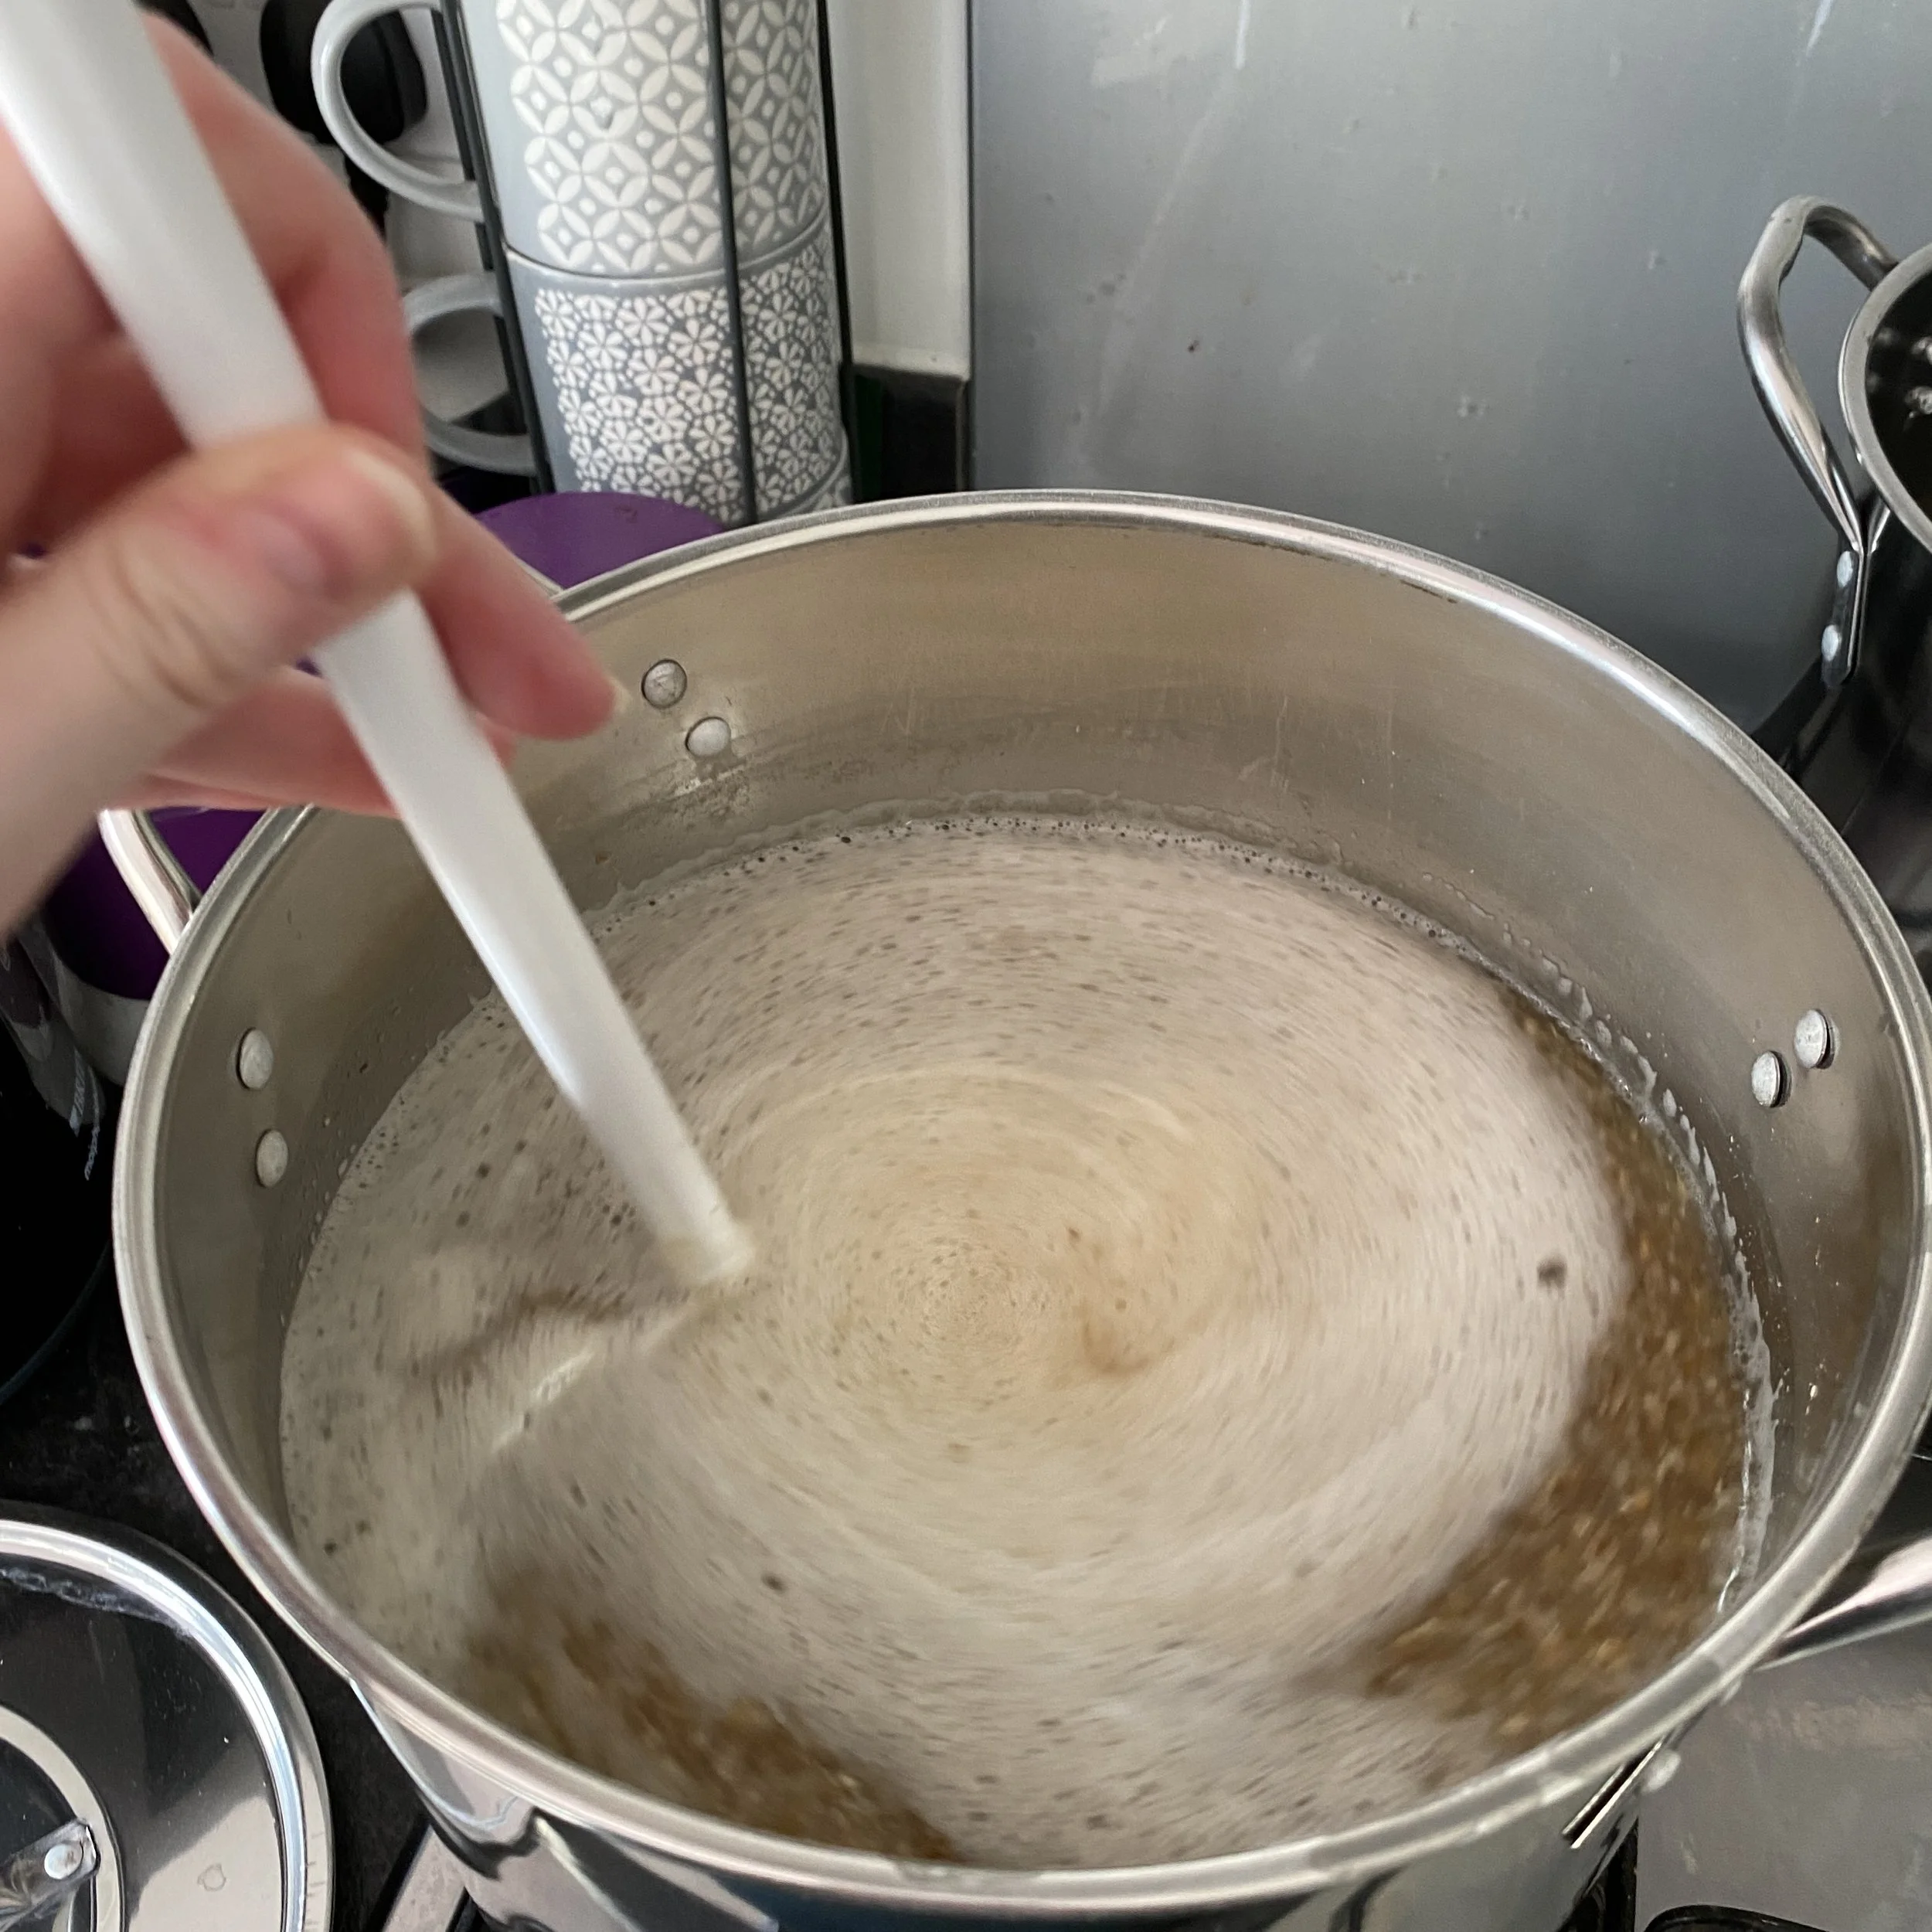
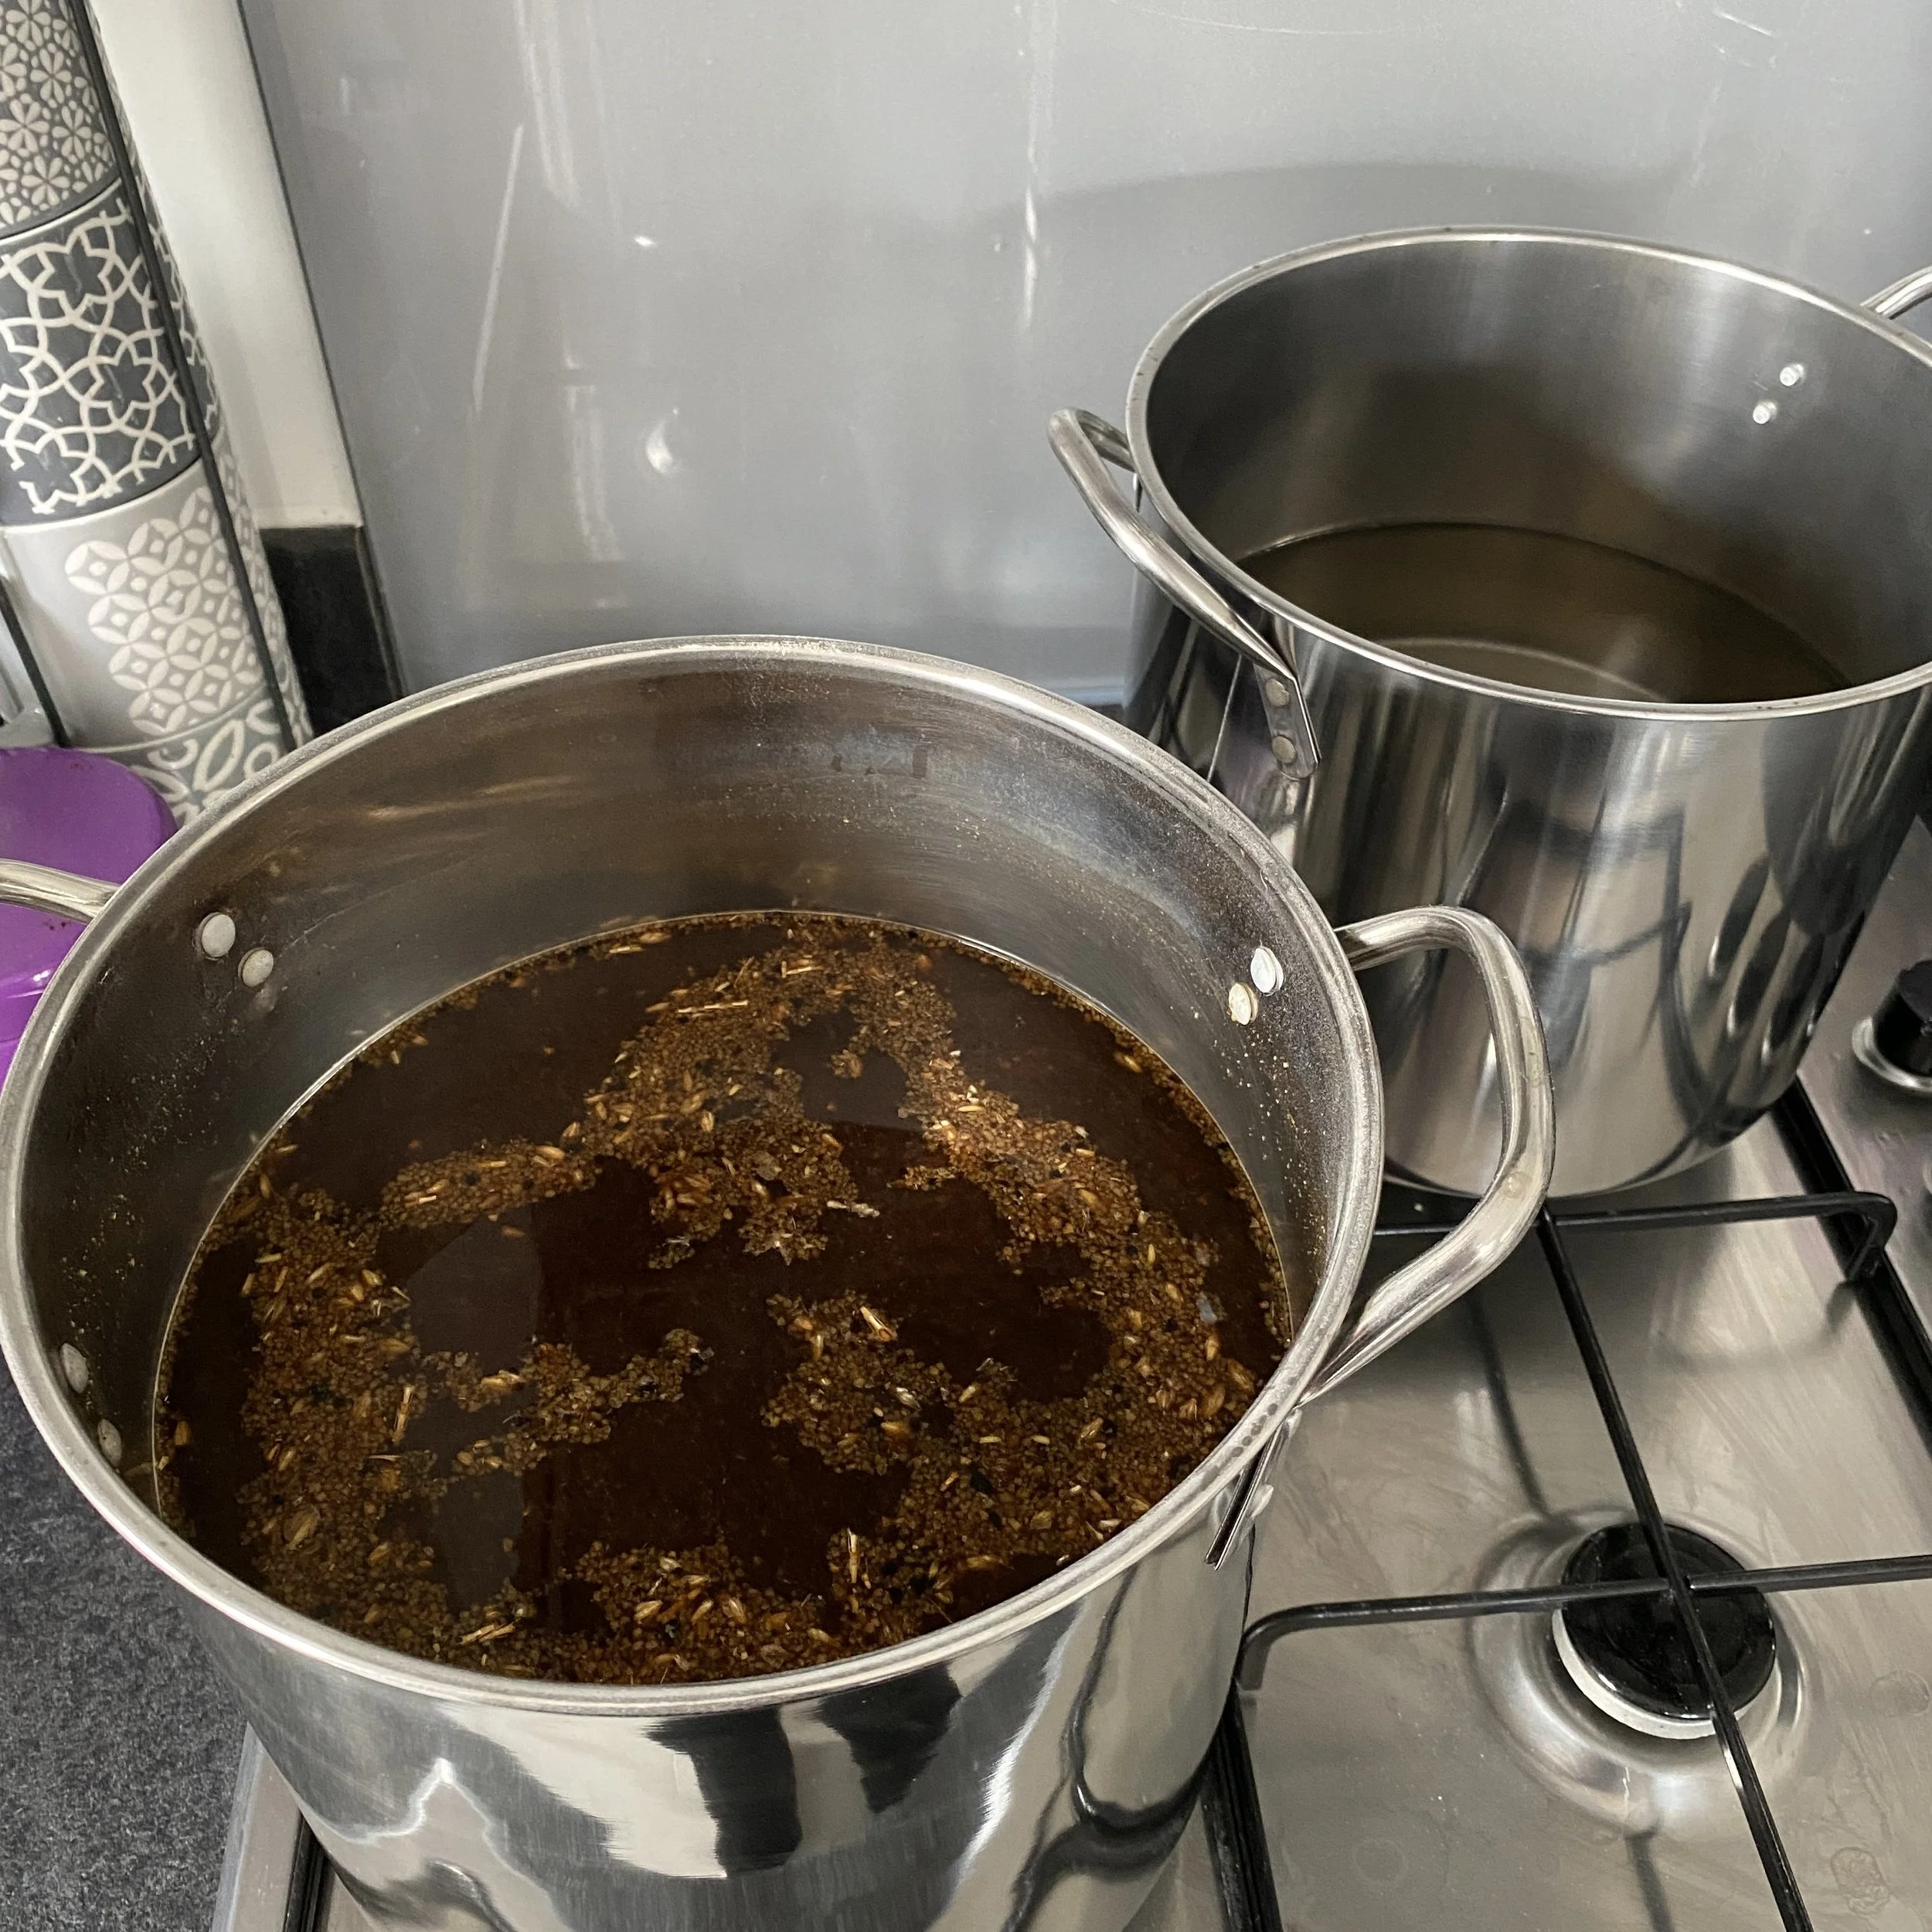
As my kit was called Stove Topper, it did mean that you could do it just on your stove in the kitchen. You didn't need to have any fancy all-in-one units. You literally used two pots and a sieve. So what is the minimal equipment you need for starting home brewing? You will need two big pots. One will be used as your mash tun which is where you will steep the grains in water. It's a good idea to have a second pot that you can use to heat up the water that you will put through the grains during the sparge. With two pots you're able to get the water heated to the correct temperature at the same time as mashing. When I started, I only had one pot and ended up with water in several different saucepans all over the kitchen. Don't fall for the same mistake that I did!
You'll also need a really big sieve. A general kitchen sieve is not going to be big enough, you want it the same size and diameter as the pot that you are using. The sieve has got to contain all of the grain that you use in your brewing, which can be above one kilogram. So it needs to be quite a big sieve.
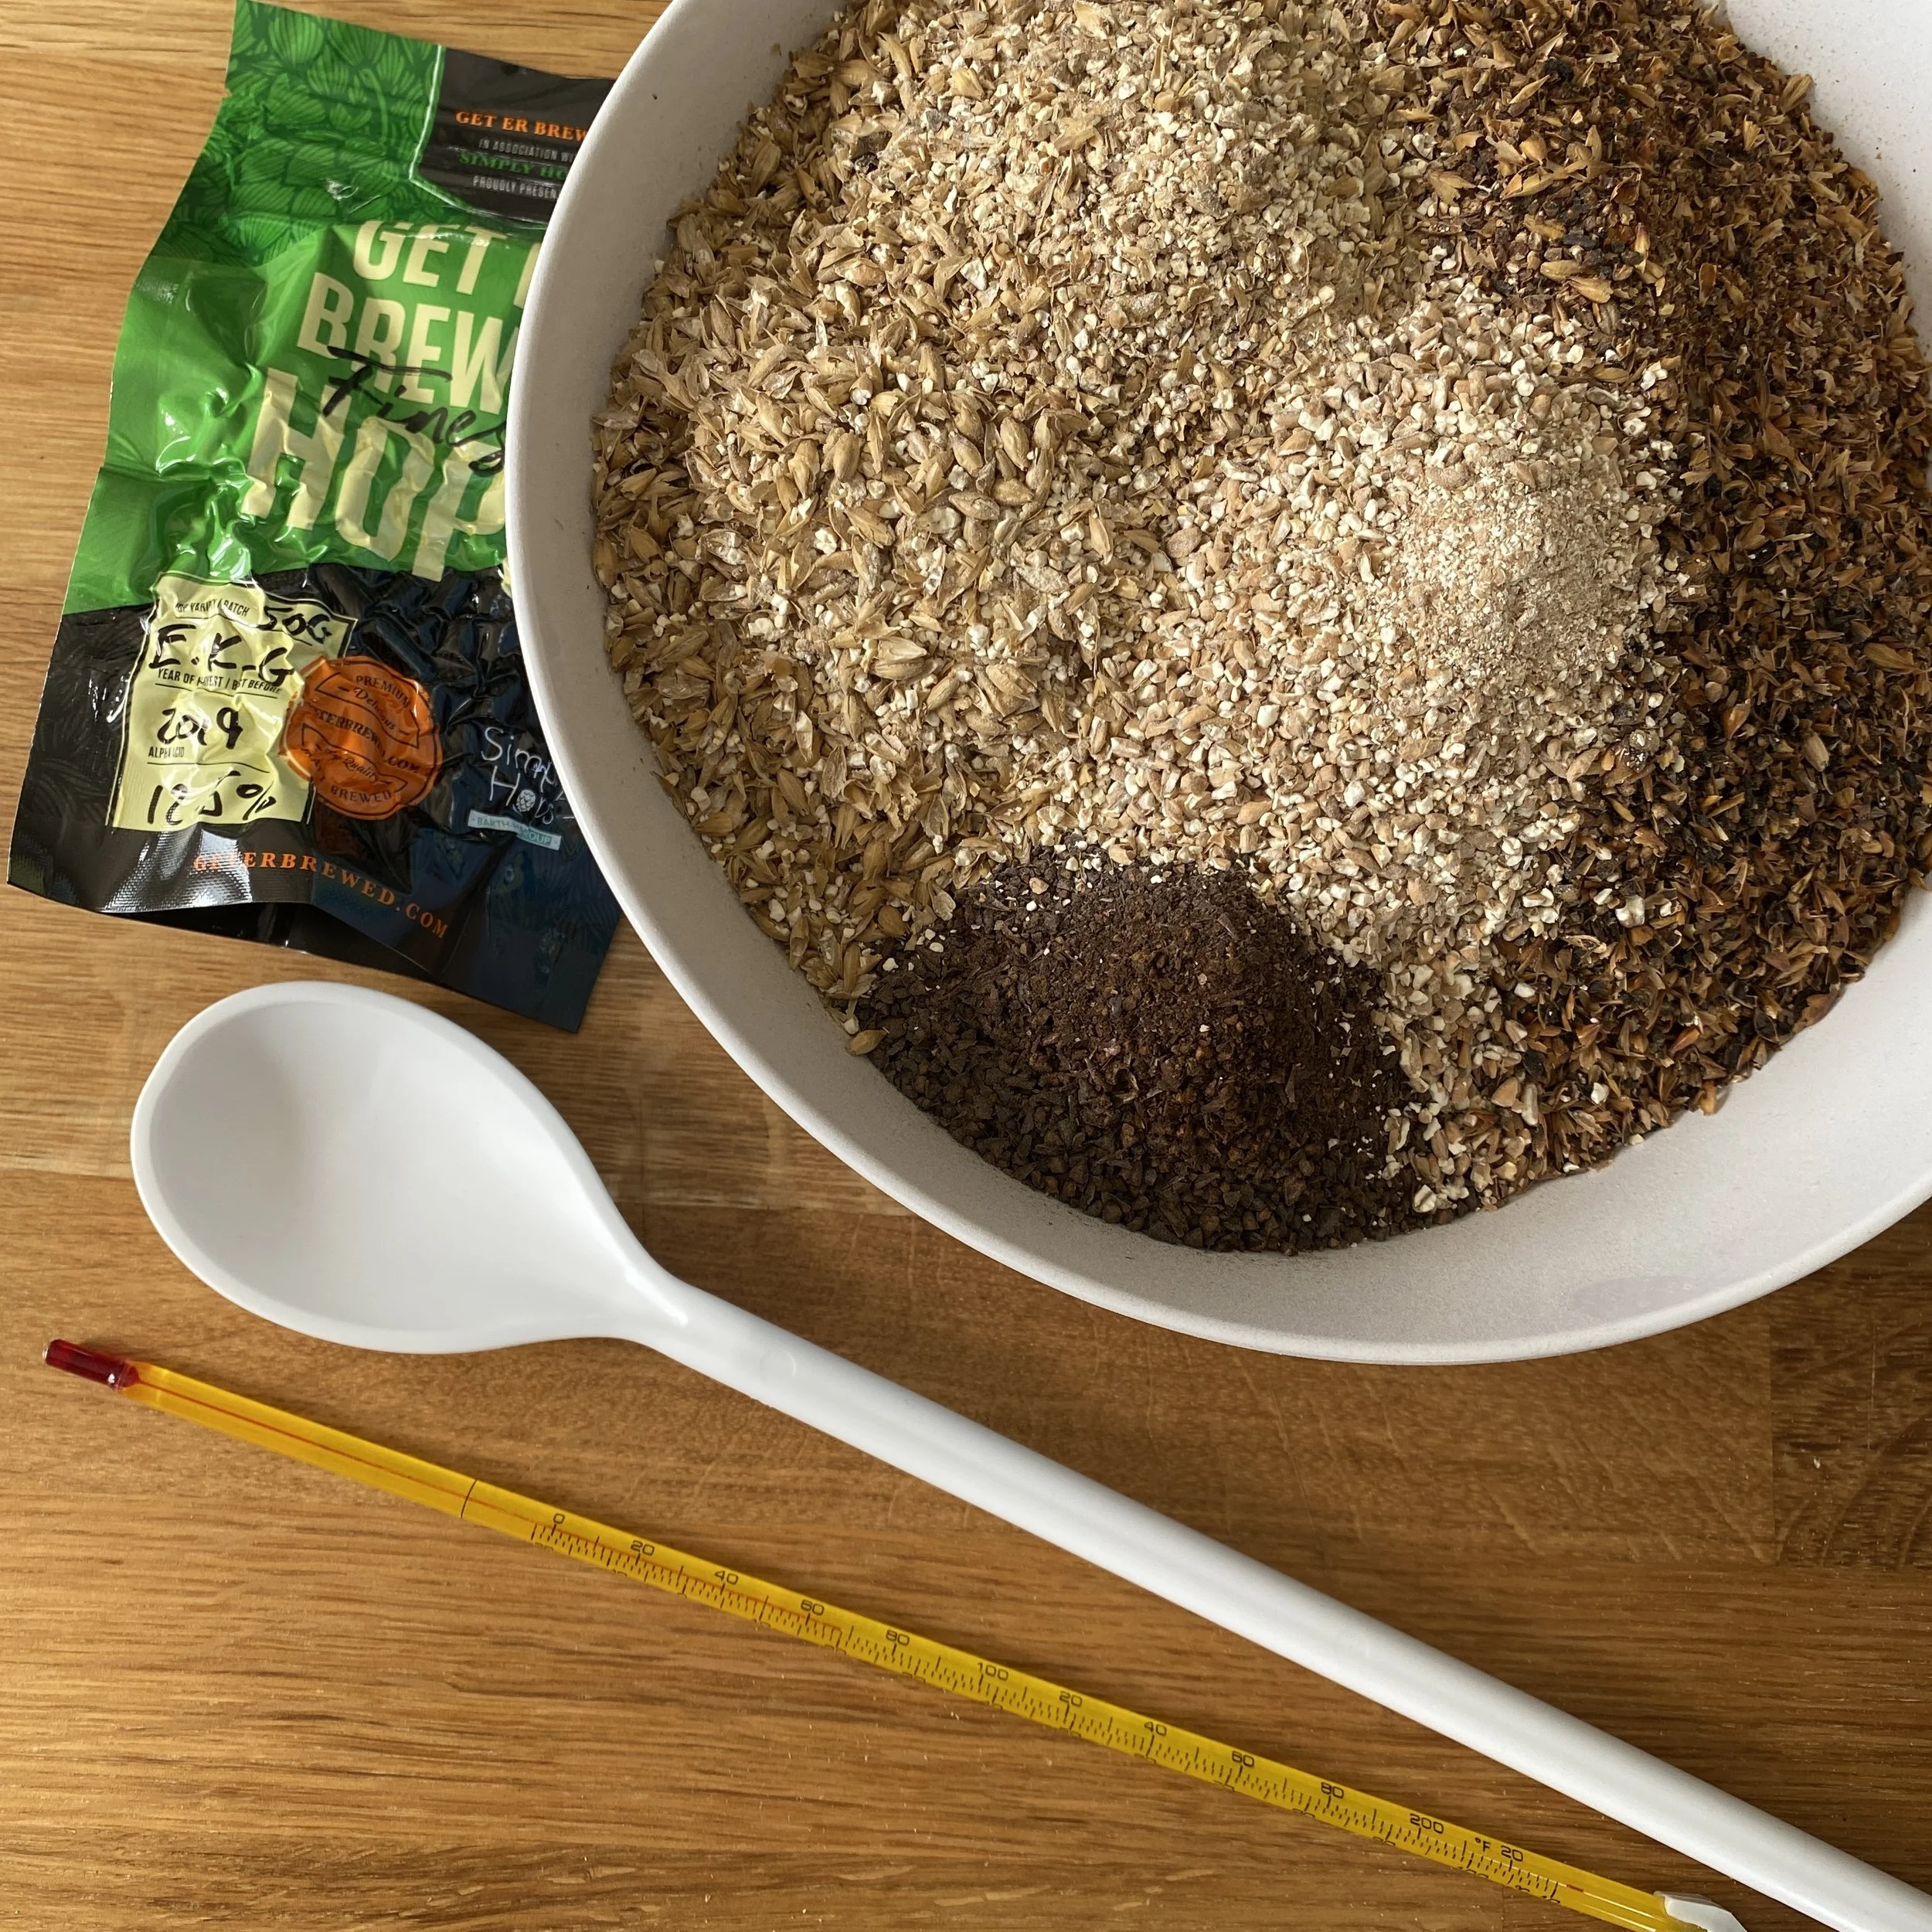
You will need a spoon to be able to stir your grains before you start your mash. This needs to be quite a long spoon and it's better for it to be plastic than wooden because you can keep it cleaner. You also need a thermometer to measure the temperature of your water and for the end of the brewing to measure the temperature of the wort before you pitch your yeast.
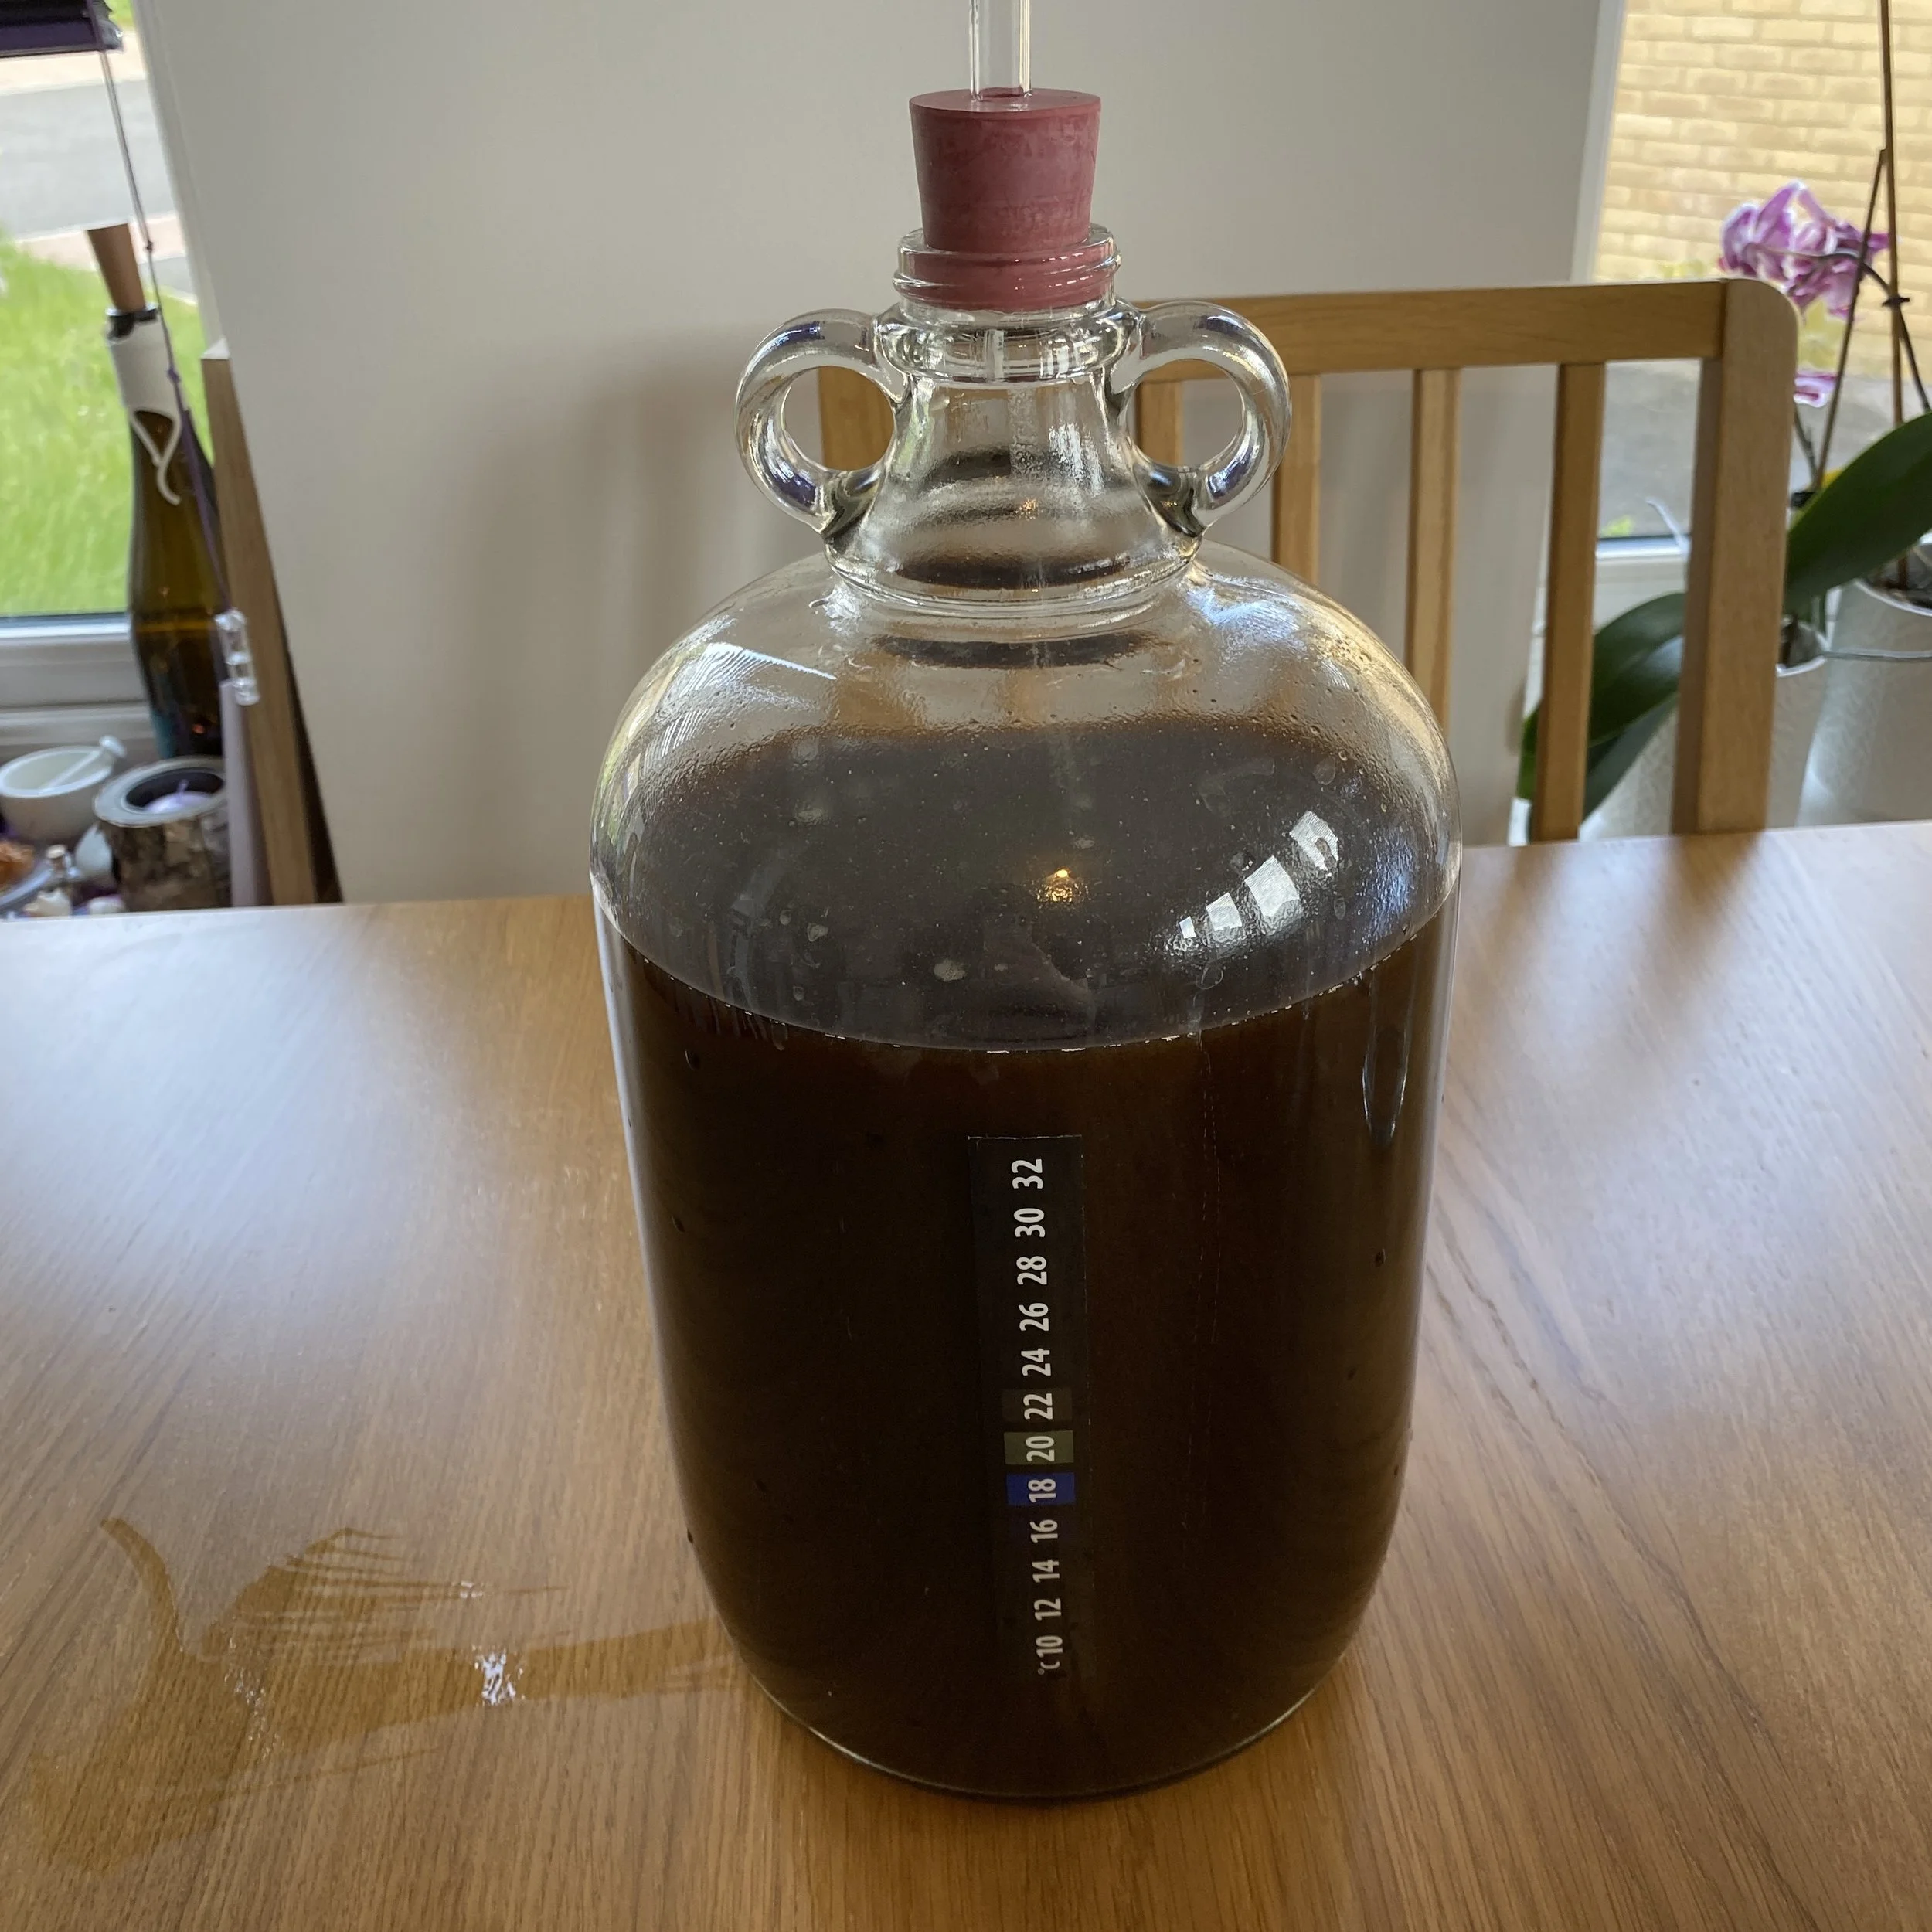
Once you've done the main boil part of brewing on the hot side, you will need a fermenter to put your wort into with the yeast. This can be a plastic bucket with a lid and a hole to attach an airlock to or a glass demi john. I like a glass demi john because then you can see what's happening in the fermentation of your beer. But lots of people use plastic fermentation buckets.
You will also need a funnel to be able to transfer the beer from your brewing pot into your fermenter. With your fermenter you will need an air lock. This shows you that fermentation is happening and all of these items will need to be sanitized either with a rinse or no rinse sanitizer.
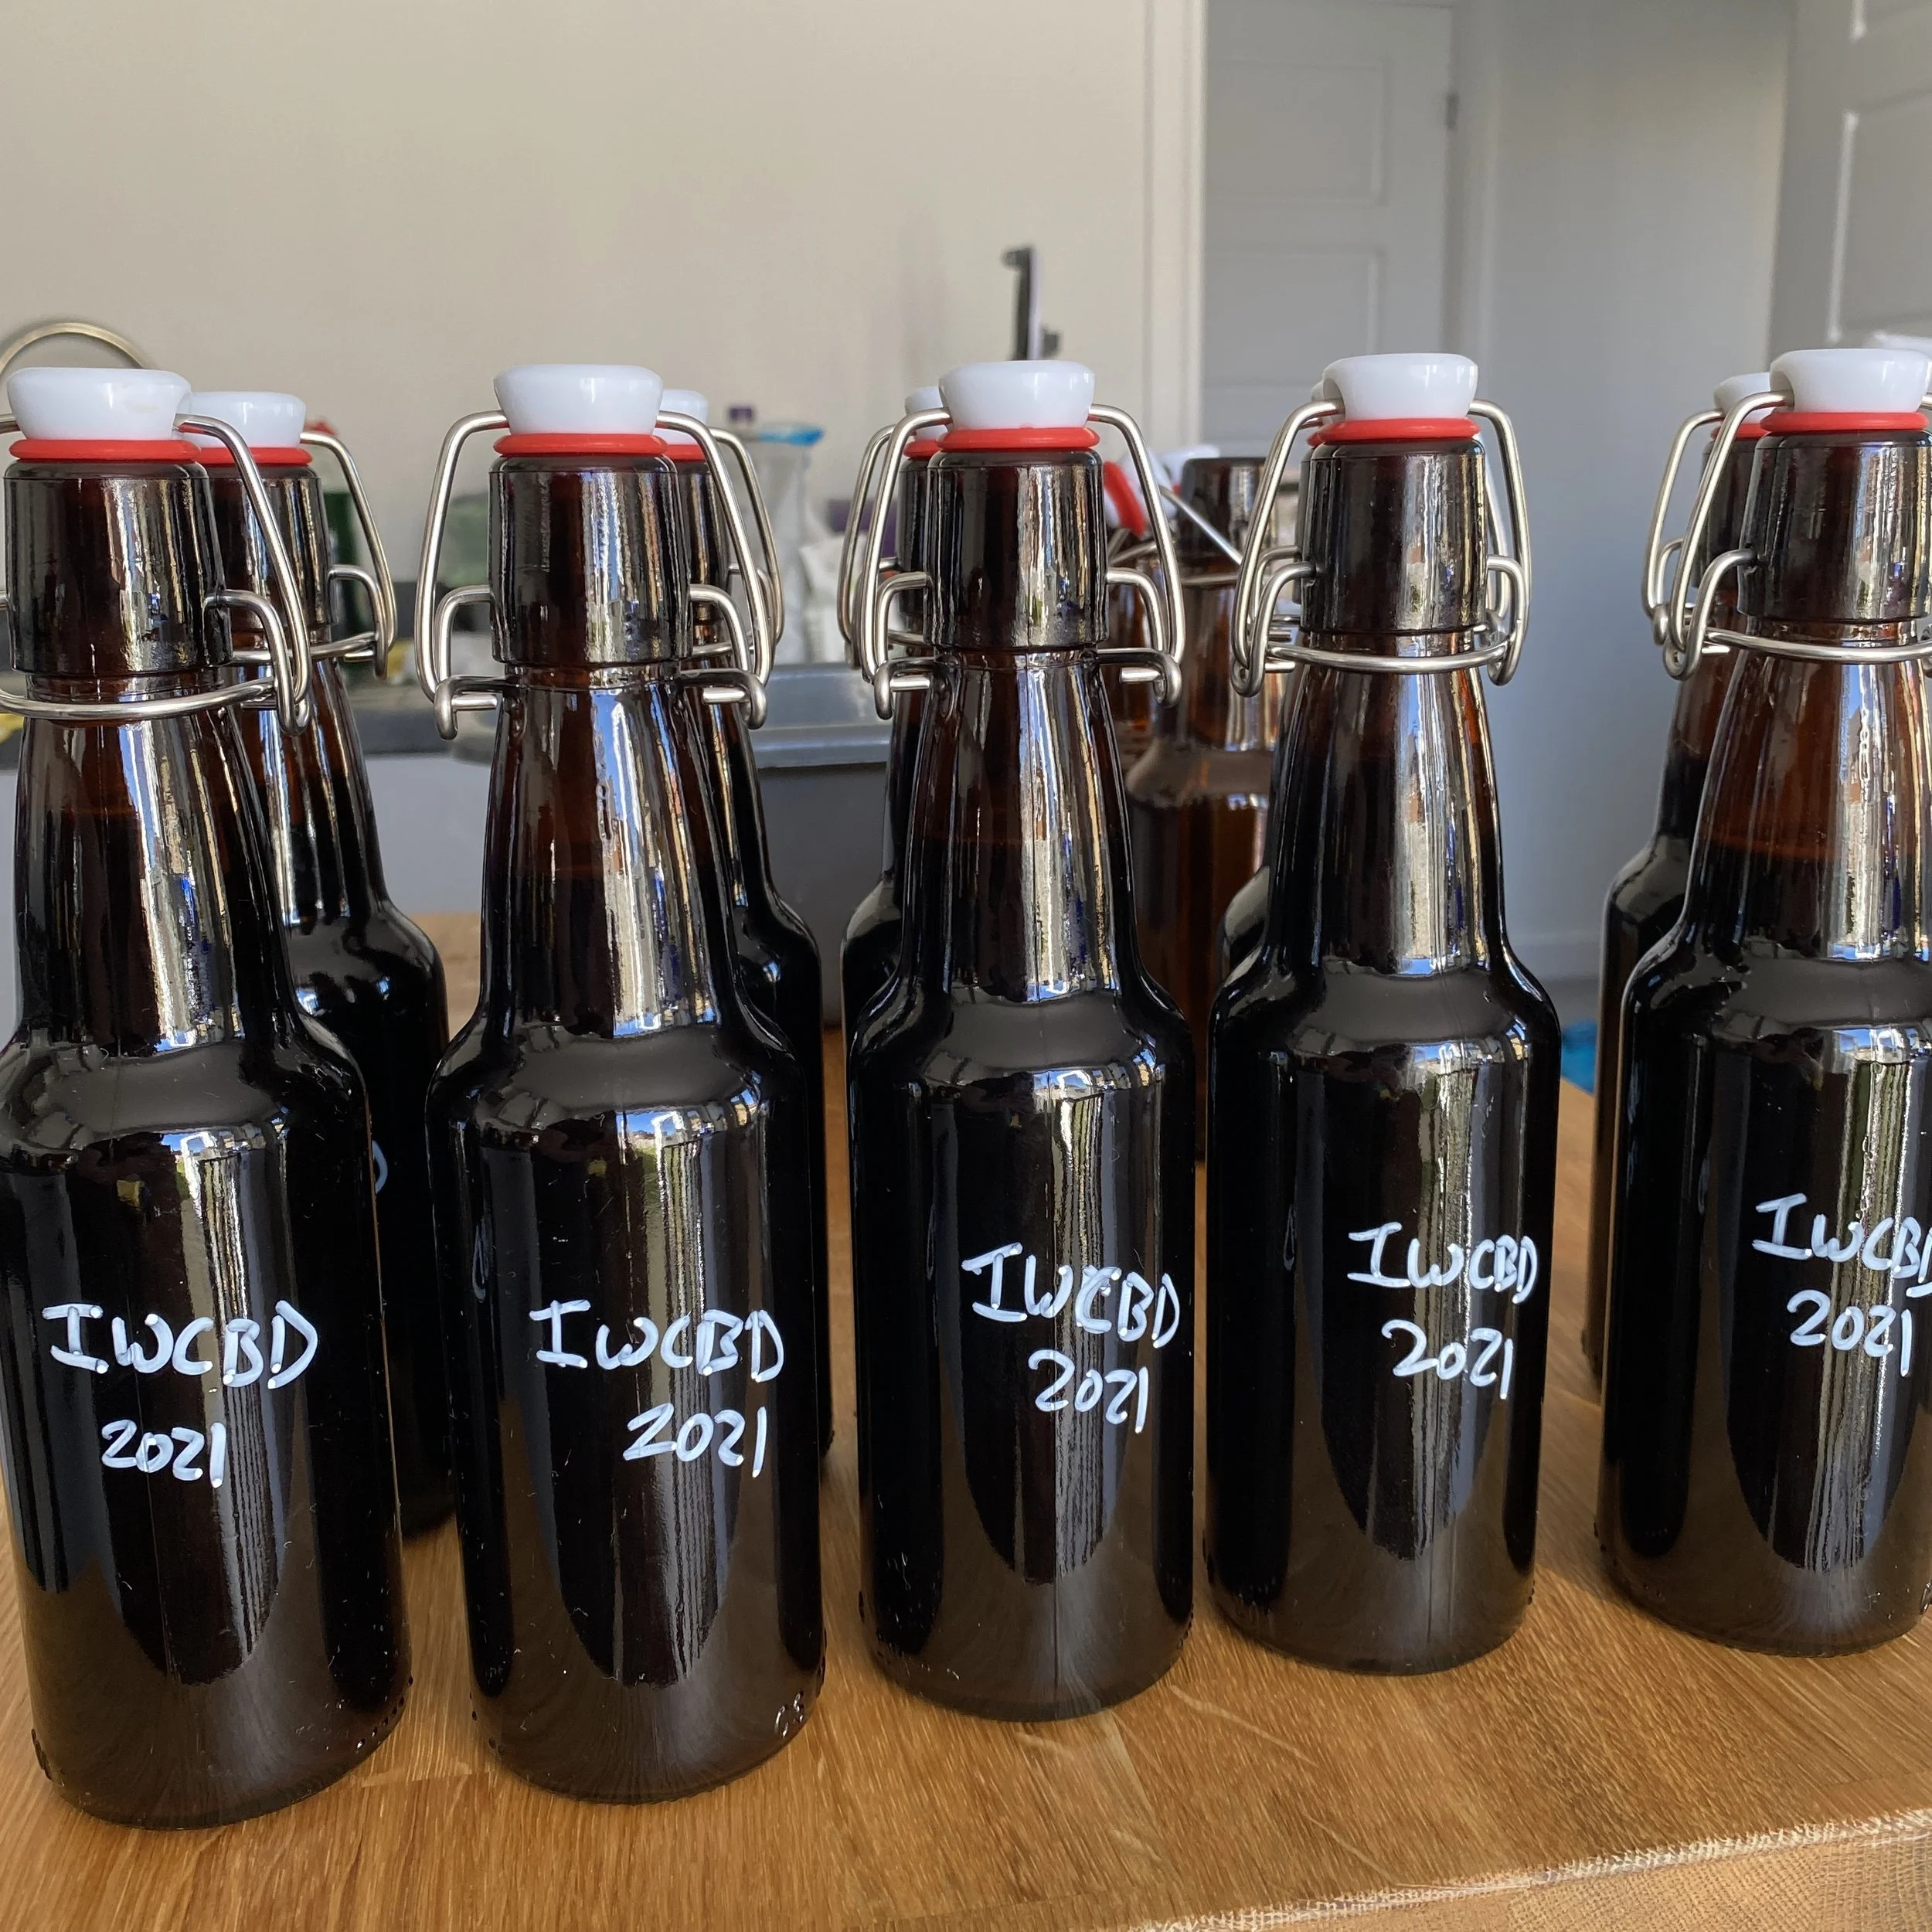
Finally, once your beer has finished fermenting, you will need to put it into a container, bottles are the easiest way to start. And you will need some form of piping to get the beer out of the fermenter into the bottles. If you get a bucket for your fermenter often there's a tap on the bottom which can be much easier than trying to transfer it via gravity with plastic tubing from a demi john.
How To Start Home Brewing – kit or ingredients?
The first kit that I had was called Stove Toppers and it came with what is called all grain. You may have seen that breweries use bags of grain to produce their beer. This is referred to as all grain brewing. Some kits come with what is called malt extract. This can be in powdered form and you mix it up or it can come in a tin and looks a bit like syrup. This has already got the malt and the fermentable sugars in it. It can also be hopped. Some kits come with this and you just boil that in water to create your wort, I had to work out what that was because my first kit was all grain and had the grains in it rather than this malt extract. Molt extract may be easier for you to begin with, have a look around at different kits that you can get online, in Wilkinsons, or if you have a local brewing shop to see what will work best for you.
I liked working with all grain - it was the process that I'd seen at breweries and you can then control what different flavours and aromas you get in your beer. However, you do have to weigh out different ingredients. And as you progress, if you don't buy a kit, which has it already weighed out, you do end up with lots of bags of different grain. Pick what is easiest for you to get started.
How To Start Home Brewing – the brewing process
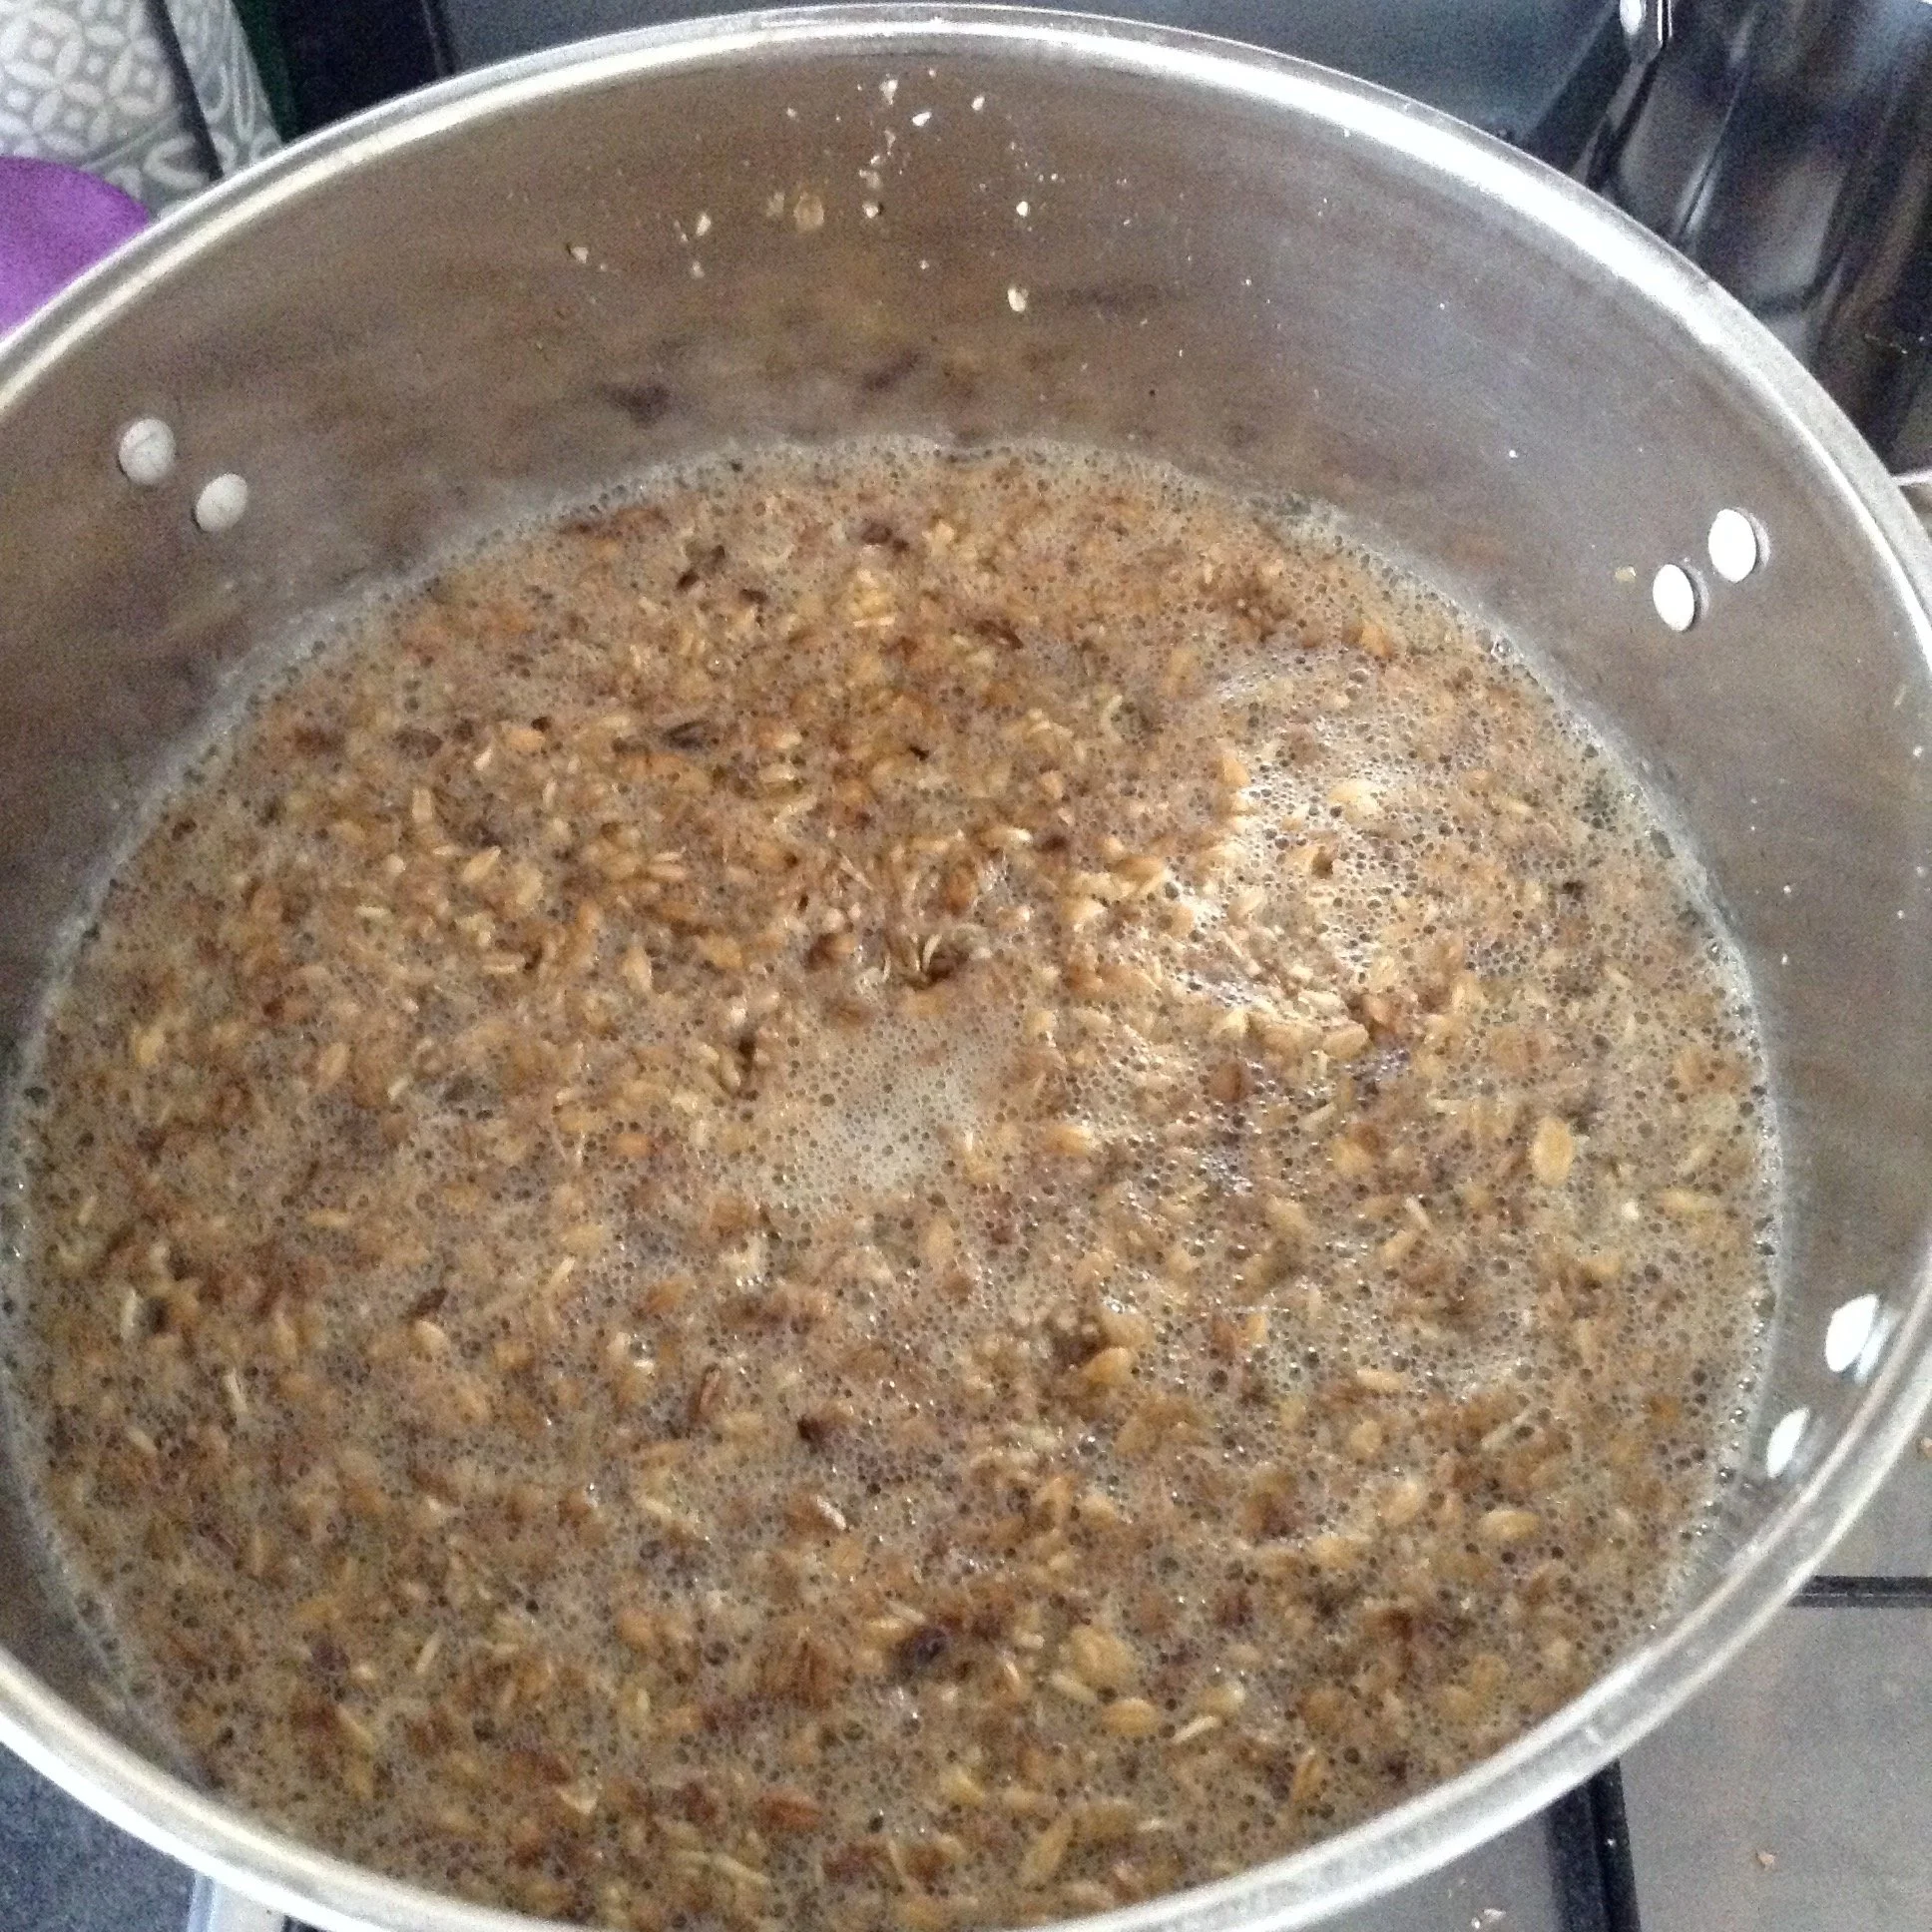
If you'd like to start brewing here is your basic process. You will need to have water brought up to 72oC that you're going to put your grains in. The grains or malt extract might already be weighed out and organized for you in your kit. You will need to do a mash (steep the grains in the warm water to extract starches and enzymes) for at least 60 minutes depending on the recipe and the beer that you're producing. The mash needs a consistent temperature between 65 – 69oC. This is why to need an accurate thermometer. Once the mash time has passed, you need to mash out by raising the temperature. In small batch brewing you will stir the mash for about seven minutes to stop the process of the extraction of enzymes and starches which creates fermentable sugars. Once you've mashed out you need to remove the grains from the water which is now called wort.
More water that has been heated up will wash more sugars from the grains so that you've got as much fermentable sugar for the yeast to eat on as possible. This is called the sparge and can take anything from between 20 minutes to an hour, depending on how much grain you've got and how thorough you want to be. You need your sieve and it can be quite messy.
Once you've extracted the grains from the wort you are then going to boil your wort depending on your recipe, usually at least an hour. During that hour, you will add hops at different intervals depending on your recipe. In a kit, you should have your hops already weighed out for you and it will tell you when to add them. One top tip that I learnt while I was learning about home brewing was that on the recipe, it will say 60 minutes. That does not mean you add it after 60 minutes have passed, that means that the hops will be in the brew for 60 minutes. So you add them at the beginning of the boil. I found that a home smart speaker that you can add timers to is very useful in the brewing process.
When the boil is complete you need to cool the wort to an appropriate temperature for the yeast you'll be using. A good way to cool your wort is in an ice bath. I have found that buying the big bags of ice from the supermarket and putting them in the sink filled with cold water is the best way to do an ice bath. As I've progressed I've added a wort chiller to my brew kit so that I can get my wort cooled more quickly. Again, you're going to need that thermometer to check the temperature because you don't want it to go too cold or your yeast won't do its job and that thermometer will need to be sanitized every time it touches the wort. You want this process to be as quick as possible because the longer that the wort has contact with the air, the more chance you've got of infection.
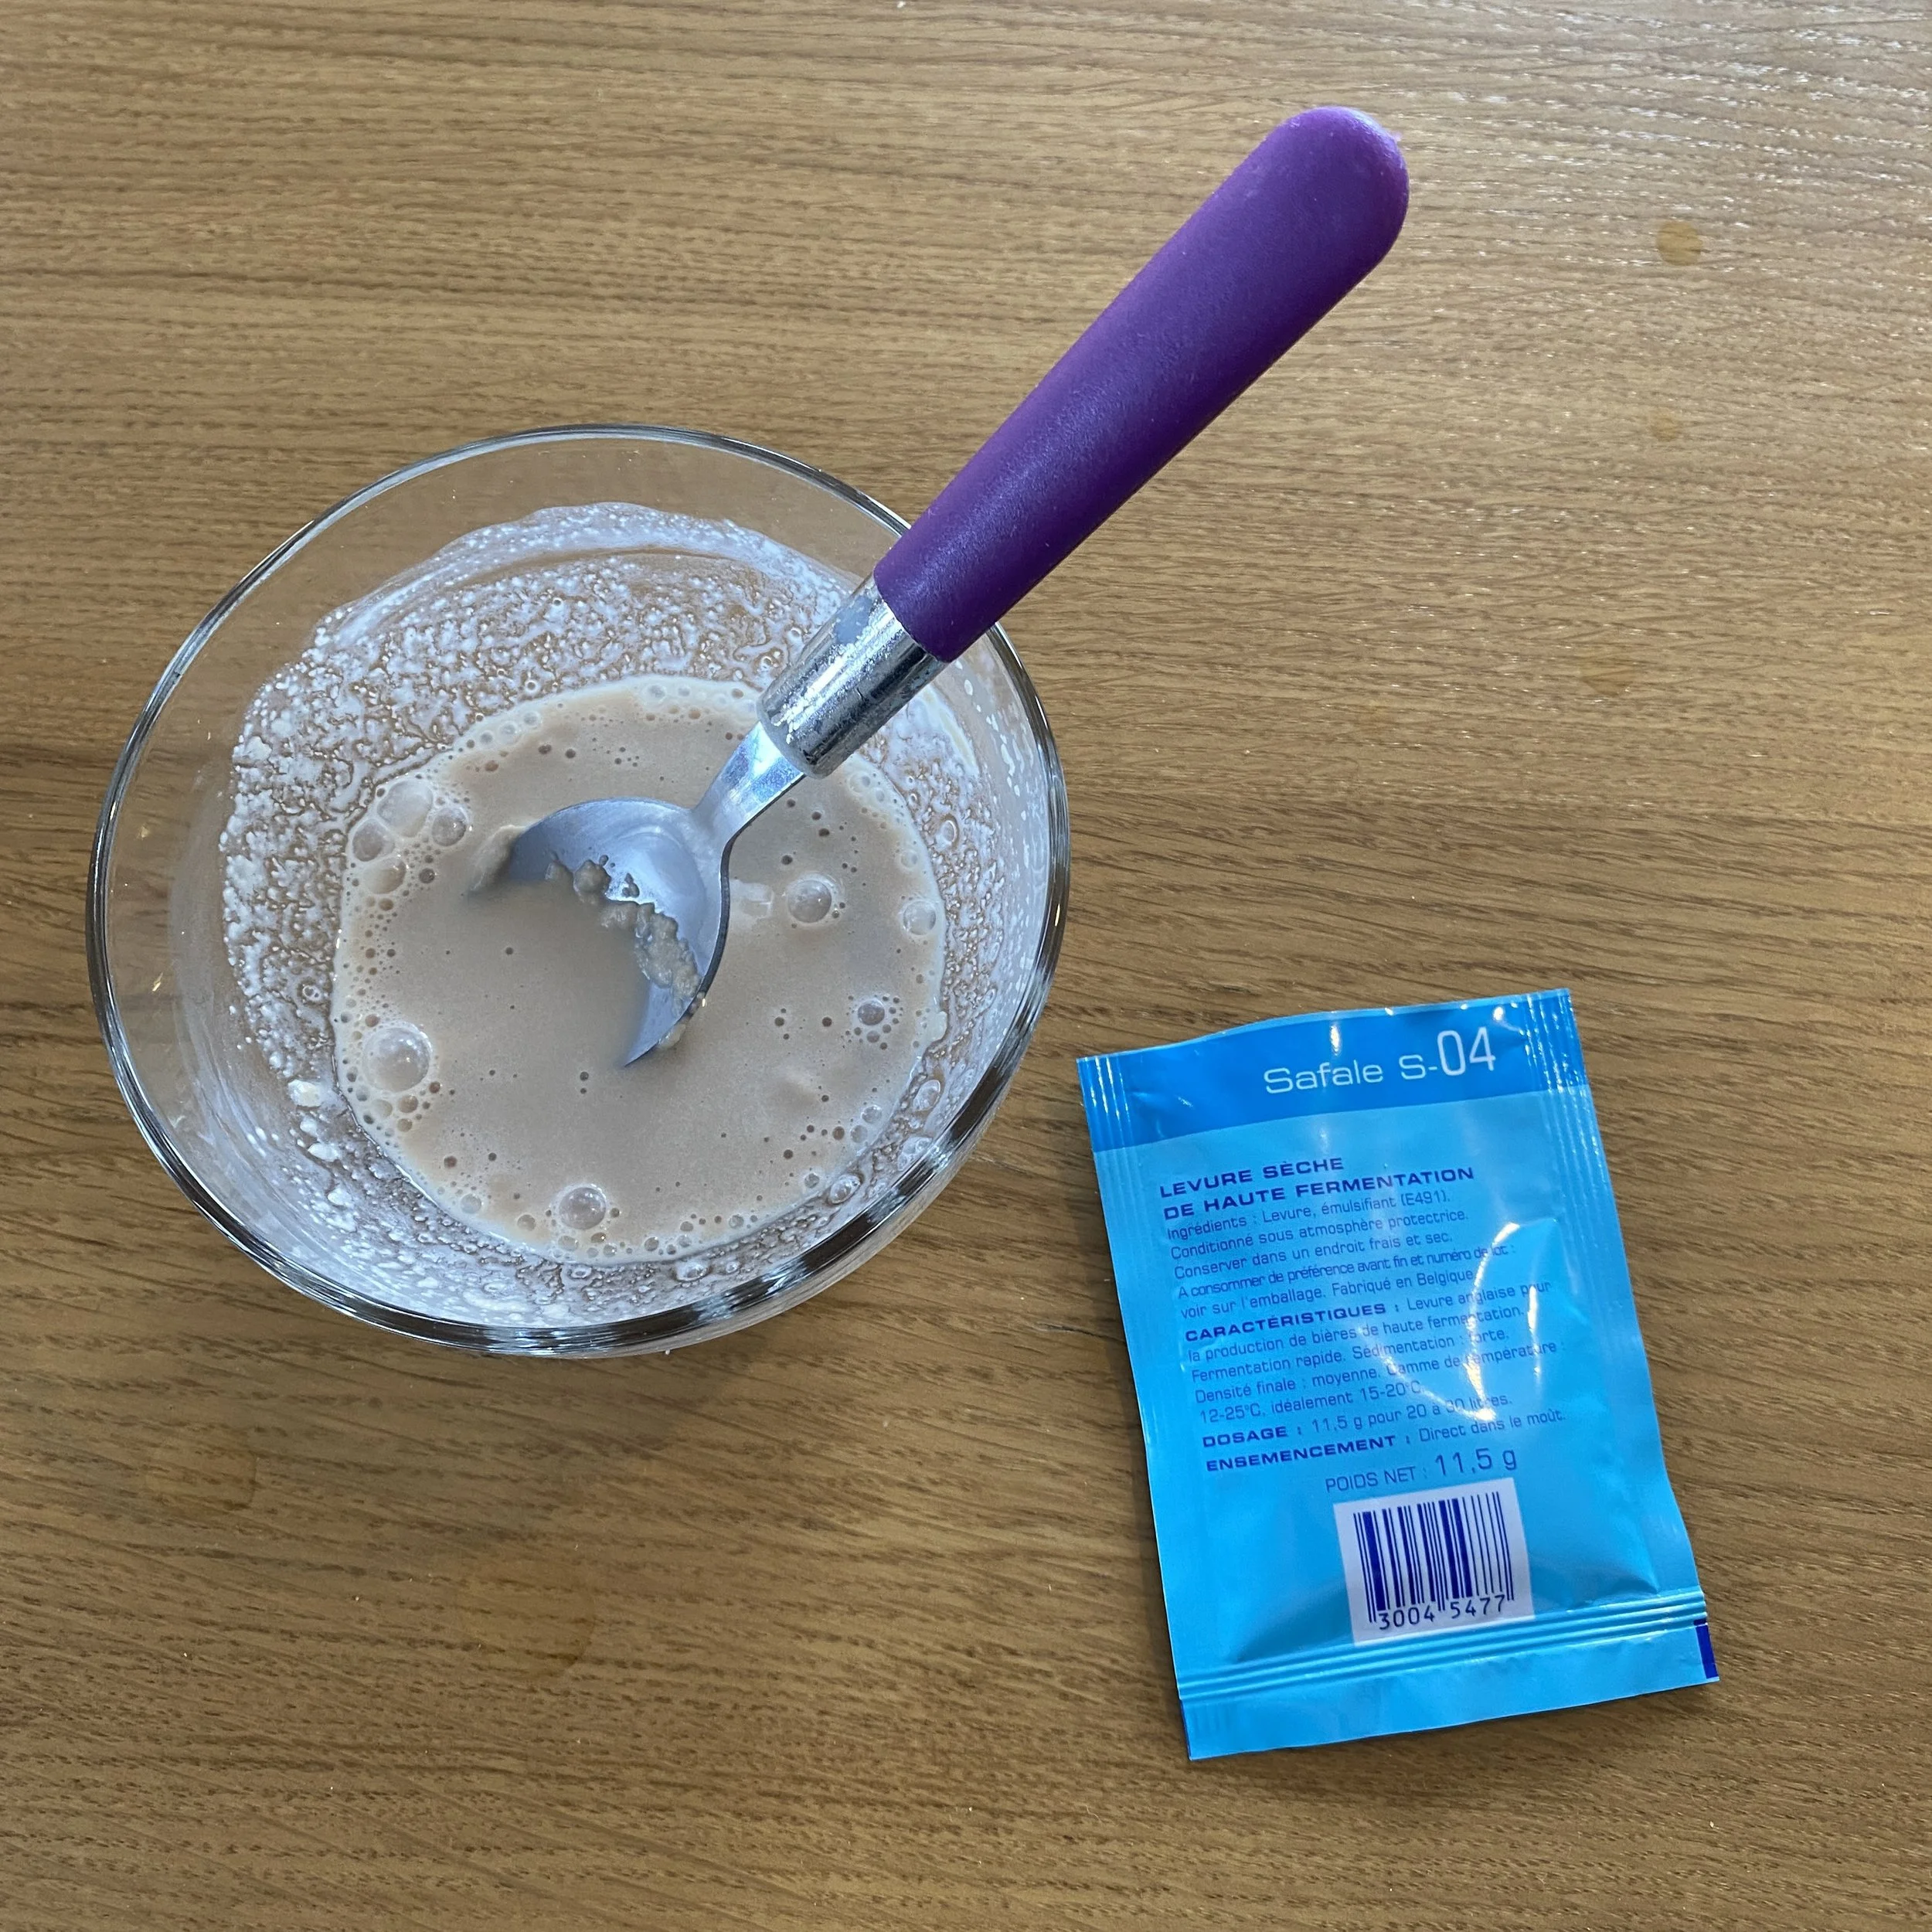
With the work at the appropriate temperature for your yeast, you can transfer it to your fermenter through a funnel and you will want to pitch your yeast (which means adding it to the wort). You will probably get a sachet of dry yeast. A good way to really get your yeast going is to rehydrate it with a little bit of warm water. I usually do this 15 minutes before the end of the boil so it can sit and get itself rehydrated and activated before I add it to my wort.
Once you have pitched your yeast, you're then going to aerate – this is the only time we really want to add air to the beer. This will give oxygen to the yeast so that it can do its job. An airlock can now be added with a bung into the fermenter and we will leave the yeast to do it’s job. I sit my fermenter in my living room because it keeps around a constant temperature of about 20 to 22 degrees. Think about the temperature that is needed for the yeast you are using and store your beer appropriately.
It's usually going to take you about two weeks to ferment the beer, maybe three. Check the instructions of your kit. And then you're going to want to bottle it. At this point, you add some sugar to rouse the yeast and to add carbon dioxide to your beer. I then leave my beer for four weeks to condition in the bottle, but sometimes it can take even longer. One recipe I did for an Imperial Stout took 18 months for the flavours to really come through.
Home brewing is a really rewarding hobby. And you can really experiment and learn as you go. YouTube is your friend. There's lots of helpful information on there to help you expand your knowledge of how to start home brewing.
Let me know if there are any more questions you have about home brewing so that I can create more content to help you on how to start home brewing. Make sure you are following Love Beer Learning on Instagram here and You Tube here to see my brewing videos coming soon!

